Guides
How To Change Crosshair In Overwatch 2
Here’s how to customize your crosshair in OW2 easily.
Having the right crosshair can be the key to landing headshots in Overwatch 2, especially at those dire moments that can turn the game around. Different types of heroes need different reticle settings and to ensure that you have the most suitable one for your main, here’s how to change crosshair in Overwatch 2.
Note that you can customize your crosshair for every hero and save those individual settings. Plus, there are advanced settings that can further personalize the reticle as per your preference.
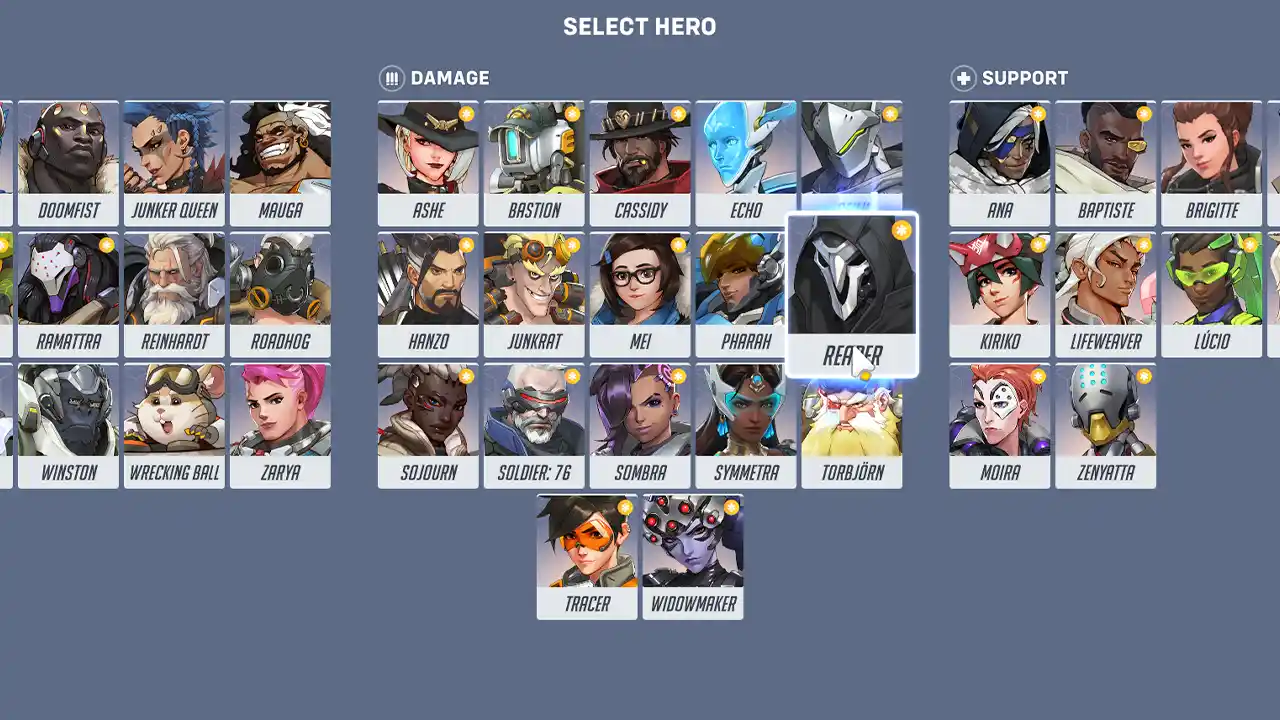
How to Change Overwatch 2 Crosshair
On PC:
- Press Escape to open the main menu.

Screenshot by Gaming Inbox
- Click on Options.
- Go to the Controls tab.

Screenshot by Gaming Inbox
- Under General, scroll down to Reticle.
- Click on the Type dropdown menu and select your desired crosshair style. You can choose from Default, Circle, Crosshairs, Circle and Crosshairs, or Dot.
- To further customize your crosshair, click on the + symbol next to Advanced.
- In the Advanced Reticle Settings, you can adjust the following:
- Show Accuracy: Toggle this on or off to show a percentage indicator of your weapon’s spread.
- Color: Choose a color for your crosshair.
- Thickness: Adjust the thickness of the lines in your crosshair.
- Center Gap: Adjust the gap between the center of your crosshair.
- Opacity: Adjust the transparency of your reticle.
On Console:
- Open the main menu.
- Go to Options.
- Select the Controls tab.
- Go to General and scroll down to Reticle.
- Use the left stick to select your preferred crosshair style.
- Press the X button to open the Advanced Reticle Settings.
- Use the left stick and d-pad to adjust the various settings.
Things to keep in mind while customizing your OW2 crosshair

Image source: Outranked on Youtube
While replicating a reticle of a pro player can be useful, it’s best to experiment with different crosshair styles and settings to find what works best for you.
Your crosshair should be such that stands out even when the background keeps changing across maps.
Clarity and Visibility:
- Color: Choose a bright color that contrasts well with most map environments and enemy heroes. Popular options include neon green, cyan, magenta, or yellow. Avoid white or colors that blend in easily. Personally, I use neon green because it’s ideal for every scenario.
- Opacity: Keep the opacity high enough to see your crosshair clearly in all situations.
- Thickness: Use a moderate thickness that’s visible but not distracting.
- Size: Keep the size small enough to avoid blocking your view of the enemy, but large enough to track easily.
Customization for Different Roles:
- Hitscan heroes: Consider using a dot or small crosshair for precise aiming.
- Projectile heroes: Use a crosshair or circle and crosshair style to help visualize the projectile trajectory. Avoid dot crosshairs as they lack directional cues.
- Tanks and supports: A slightly larger crosshair can be helpful for tracking enemies and aiming area-of-effect abilities.
Advanced Settings:
- Center Gap: A small gap can help focus your aim on the center point.
- Outline Opacity: Lowering this can reduce clutter without losing the main crosshair.
- Show Accuracy: Turn this off for precise aiming, but it can be helpful for learning weapon spread.
To set a different crosshair for different heroes, follow the same steps as above, but in the Controls menu, select Change Hero and choose the hero you want to customize.
If you also play Valorant and Fortnite, here’s more to know about getting a Dot crosshair or custom crosshairs.


You must be logged in to post a comment Login